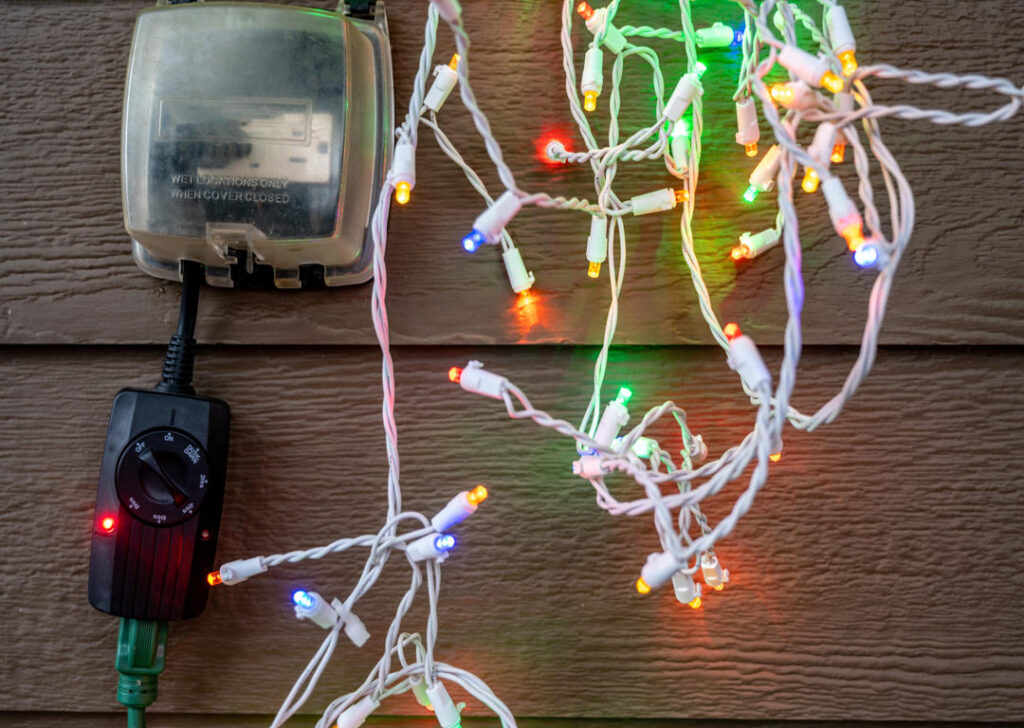
Winter is the perfect time to illuminate your home with holiday lights, adding charm and festivity to your outdoor spaces. However, the dazzling beauty of winter decorations can be compromised if electrical outlets aren’t installed properly or safely. Outdoor electrical outlets are a key feature for powering your holiday lights, but they require proper installation to ensure they function safely, especially during the colder months when moisture and freezing conditions are common.
In this guide, we’ll walk you through the process of safely installing exterior electrical outlets to power your outdoor holiday décor. With the right planning, tools, and safety measures, you can keep your home both festive and safe this winter.
Choosing the Right Type of Outdoor Outlet
The first step in installing outdoor electrical outlets is selecting the right type of outlet for your needs. Outdoor electrical outlets differ from indoor ones in that they are specifically designed to withstand exposure to the elements, such as rain, snow, and freezing temperatures.
GFCI (Ground Fault Circuit Interrupter) Outlets
For outdoor installations, GFCI (Ground Fault Circuit Interrupter) outlets are a must. GFCI outlets are designed to prevent electrical shock by shutting off the power when they detect an imbalance in the electrical current, such as moisture entering the circuit. They are required by the National Electrical Code (NEC) for all exterior outlets and outlets located near water sources, including bathrooms and kitchens.
- Why GFCI Is Essential for Winter Decorations: Given the winter weather in many regions, your outdoor outlets will likely be exposed to moisture from snow, ice, and rain. A GFCI outlet provides the necessary protection to prevent electrical hazards, ensuring that your holiday lights are powered safely.
Weatherproof Covers
Another important feature of an outdoor electrical outlet is the weatherproof cover. These covers protect the outlet from moisture, dirt, and debris. There are two main types of weatherproof covers:
- Standard Covers: These are designed to protect the outlet when it is not in use, keeping it sealed against the elements.
- In-Use Covers: Also known as “bubble covers,” these are designed to protect the outlet while something is plugged into it, ensuring that the outlet remains safe even when powering your holiday lights or other decorations.
For winter use, in-use covers are the better option. These covers allow you to keep cords plugged in without exposing the outlet to water or snow, preventing the risk of short circuits or electrical malfunctions.
Tools and Materials You’ll Need
Before starting the installation process, gather the necessary tools and materials. Ensuring you have the right items on hand will make the installation smoother and more efficient.
Tools:
- Drill
- Wire stripper
- Voltage tester
- Hammer
- Screwdriver
- Needle-nose pliers
- Level
Materials:
- GFCI outdoor outlet
- In-use weatherproof outlet cover
- Exterior-grade electrical box
- Electrical conduit (if required)
- Silicone caulk or sealant
- Outdoor-rated electrical wiring (12-gauge wire is standard for most exterior outlets)
- Circuit breaker (if installing on a new circuit)
Step-by-Step Guide to Installing an Outdoor Outlet
Installing an outdoor electrical outlet requires both electrical knowledge and adherence to safety protocols. If you’re unfamiliar with electrical work or uncomfortable with DIY installations, it’s best to hire a licensed electrician. However, for those experienced in electrical projects, the following steps will guide you through the installation process.
Turn Off the Power
Before starting any electrical work, make sure to turn off the power to the circuit you’ll be working on. Use a voltage tester to double-check that the power is off before proceeding. Never attempt to install or repair an outlet while the power is still on, as this poses a significant risk of electrical shock.
Select the Location for Your Outlet
Choosing the right location for your outdoor outlet is crucial for both convenience and safety. The outlet should be installed in a sheltered area, if possible, to protect it from direct exposure to heavy snow or rain. Consider placing the outlet:
Near your front or back porch for easy access to power holiday lights or outdoor decorations.
Close to your landscaping or outdoor features where you plan to install additional lighting.
Make sure the outlet is at least 12 inches above ground level to prevent water accumulation from reaching the outlet. If you’re installing the outlet in an area exposed to heavy weather, an in-use cover is mandatory for extra protection.
Install the Electrical Box
Once you’ve selected your location, the next step is to install an exterior-grade electrical box. The electrical box is mounted on the outside wall of your home and will house the GFCI outlet. The box should be securely fastened to the wall, and all holes should be sealed with silicone caulk to prevent moisture from entering the box.
If your installation requires running wires from inside your home to the outside, you’ll need to drill a hole through the wall to pass the wiring through. Make sure to protect the wire with electrical conduit to keep it safe from damage and the elements.
Run the Electrical Wiring
Once the electrical box is installed, it’s time to run the outdoor-rated wiring. The most common wire for outdoor outlets is 12-gauge wire, which is suitable for powering most holiday decorations and lighting.
If the outlet is on a new circuit, you’ll need to run the wire from your home’s electrical panel to the outdoor outlet location. This will involve installing a new circuit breaker in your electrical panel, which may require professional assistance depending on your skill level.
When running the wiring:
- Feed the wires through the conduit, if necessary, and into the electrical box.
- Strip the insulation from the wires using a wire stripper, leaving about 3/4 inch of bare wire exposed.
Connect the Wires to the GFCI Outlet
With the wiring in place, you can now connect the wires to the GFCI outlet:
- Connect the black (hot) wire to the brass terminal screw on the outlet.
- Connect the white (neutral) wire to the silver terminal screw.
- Connect the green or bare copper (ground) wire to the green grounding screw.
Ensure that the wires are securely fastened to the terminal screws to prevent any loose connections that could lead to electrical hazards. After connecting the wires, carefully push the outlet into the electrical box and secure it with screws.
Install the Weatherproof Cover
Once the GFCI outlet is installed, attach the weatherproof cover to the electrical box. If you’re using an in-use cover, make sure it fully encloses the outlet and any cords plugged into it. This will keep moisture, snow, and debris out of the outlet while allowing you to safely power your holiday decorations.
Test the Outlet
After the outlet is installed, restore the power to the circuit and test the outlet using a voltage tester. Press the test button on the GFCI outlet to ensure it is functioning correctly. The outlet should cut power when the test button is pressed and restore power when the reset button is pressed.
If everything is working properly, your outdoor outlet is now ready to safely power your holiday lights and decorations.
Safety Tips for Using Outdoor Outlets During the Winter
Installing an outdoor outlet is just the first step in ensuring a safe, festive winter décor. Here are some additional safety tips to keep in mind when using your outdoor outlets:
Use Outdoor-Rated Extension Cords: Only use extension cords rated for outdoor use. Indoor cords are not designed to withstand the moisture and cold temperatures common in winter.
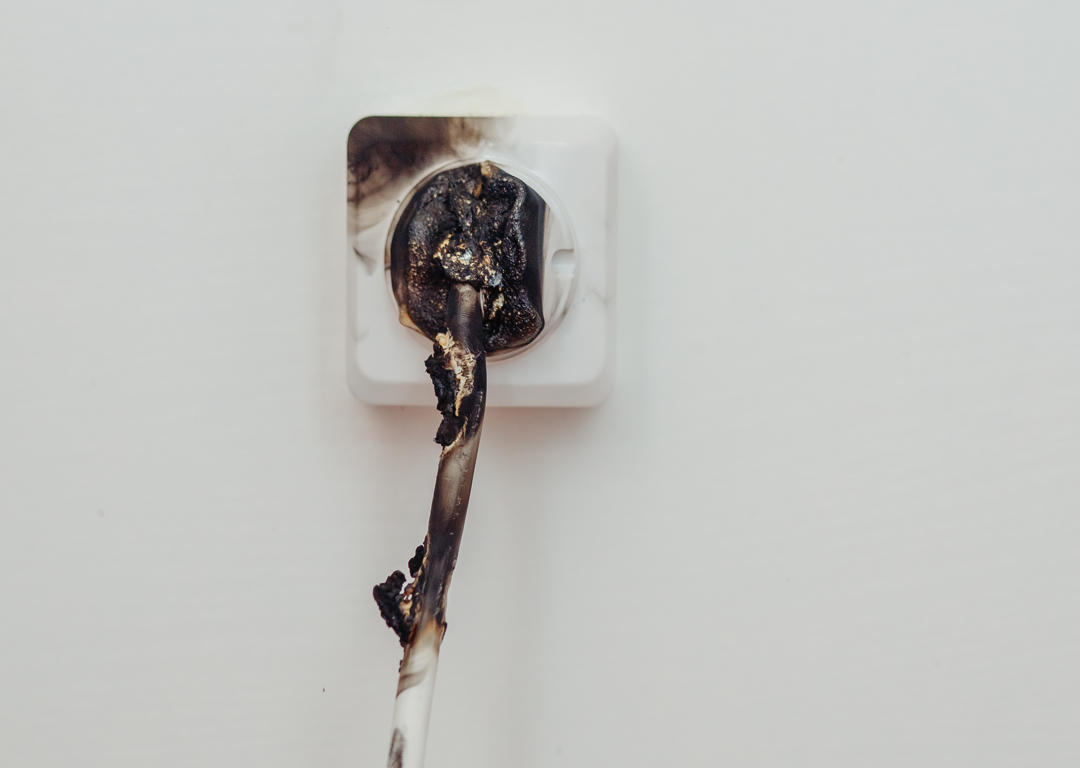
Avoid Overloading Circuits: Be mindful of how many lights and decorations you’re plugging into the outlet. Overloading the circuit can lead to overheating and electrical hazards.
Unplug Decorations When Not in Use: Always unplug your holiday lights when you’re not at home or overnight to prevent electrical fires.
Properly installing outdoor electrical outlets is crucial for safely powering your winter holiday decorations. By using GFCI outlets, installing weatherproof covers, and following correct installation procedures, you can enjoy a beautiful, well-lit home without risking electrical hazards. Whether you’re decorating a porch, yard, or driveway, outdoor outlets are essential for keeping your holiday lights powered and your home safe.
If you need help with installation or want to ensure your outdoor electrical setup is safe and up to code, contact Genesis 1:3 Electric. Our team of skilled electricians is here to make sure your outdoor holiday décor shines brightly all season long.


